YouTube Content Calendar Planning Tool: A How-To Guide
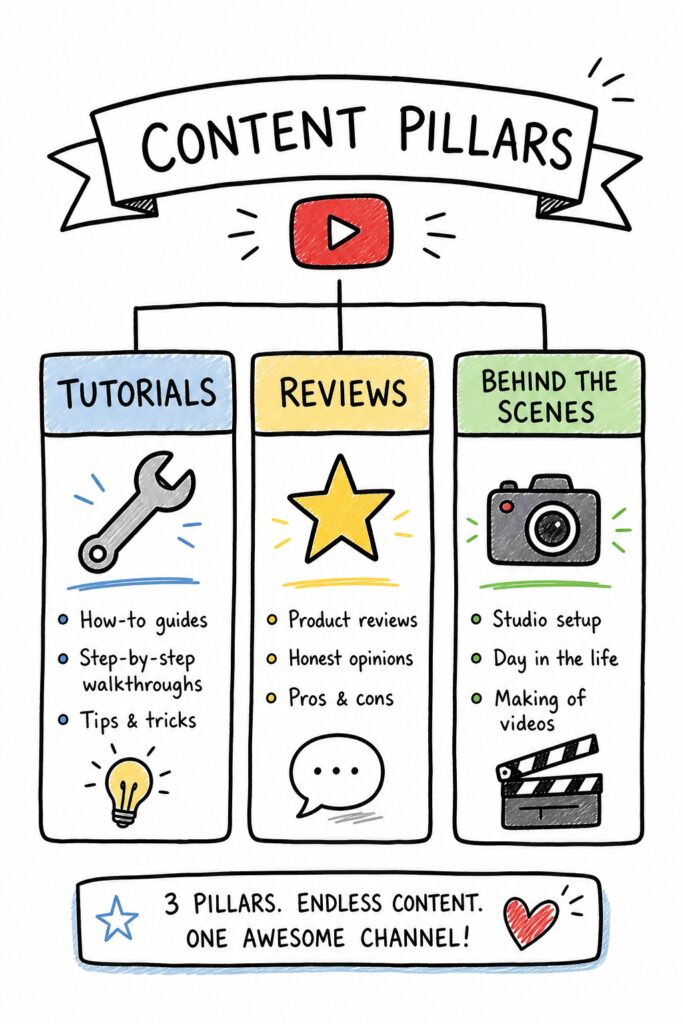
You know that feeling. Sunday night rolls around and you have no clue what to film. You scramble, throw something together, and it flops. Sound familiar? Most creators start that way. But here’s the thing: the ones who blow up don’t guess. They plan. A YouTube content calendar planning tool is your secret weapon. It gives you a clear roadmap, so you’re never stuck wondering what’s next. In this guide, we’ll show you exactly how to set one up step by step. No fluff, no theory. Just a system that works. Table of Contents Step 1: Define Your Content Pillars Step 2: Choose the Right Calendar Planning Tool Step 3: Set Up Your Content Calendar Template Step 4: Brainstorm and Fill In Content Ideas Step 5: Schedule and Automate Publishing Step 6: Monitor and Adjust Your Calendar Frequently Asked Questions Conclusion Step 1: Define Your Content Pillars Before you even open a tool, you need to know what you’re going to talk about. Think of content pillars as the big categories your videos fall into. For a tech channel, pillars might be “reviews,” “tutorials,” and “industry news.” For a cooking channel, “quick meals,” “desserts,” and “meal prep.” Pick 3 to 5 pillars. That’s it. More than five and you’ll spread yourself too thin. Why does this matter? Because your YouTube content calendar planning tool needs structure. Pillars give you that structure. They also help your audience know what to expect. When people subscribe, they subscribe for a specific type of content. Pillars keep you focused. Here’s how to nail your pillars. First, look at your current best-performing videos. What topics do they cover? Those are your natural pillars. Second, check your competitors. What gaps can you fill? Third, ask your audience. A simple poll on YouTube Community can reveal what they want. Pro Tip: Write each pillar as a sentence. For example: “I help busy parents cook healthy dinners in under 30 minutes.” That one sentence defines your pillar and makes it easy to brainstorm ideas. Once you have your pillars, list them in your YouTube content calendar planning tool as tags or labels. This way, when you’re planning, you can quickly see if you’re covering all pillars evenly. Don’t ignore the pillar that feels hardest. That’s often the one that grows your channel most. Key Takeaway: Content pillars are the backbone of your calendar. Without them, your planning is random. Bottom line: Define 3-5 content pillars based on your audience’s interests and your strengths, then use them to guide every video idea. Step 2: Choose the Right Calendar Planning Tool Now it’s time to pick your weapon. The market is flooded with options, but most of them are overpriced and overcomplicated. We looked at 52 tools and found that only 4% actually offer a real free tier according to Wikipedia’s definition of a content calendar. That means most “free” plans either limit you to a handful of posts or hide costs behind paywalls. The right YouTube content calendar planning tool should match your workflow and budget. Here’s a comparison of the most common types: Tool Type Best For Typical Price Free Tier? Spreadsheet (Google Sheets) Solo creators who want full control Free Yes Specialized SaaS (e.g., TubeBuddy, Hootsuite) Teams needing collaboration and analytics $14 – $199/month Limited All-in-one platforms (e.g., Buffer, Later) Multi-platform schedulers $15 – $120/month Basic AI-powered idea tools (Velio) Creators who want data-driven video ideas From $9/month Free trial Notice the price range? The average is $52.9, but the median is just $14. That’s because a few premium tools skew it. Don’t be fooled by the high-end options. Most creators only need a simple tool with good templates. We recommend starting with a spreadsheet. It’s free, flexible, and you already know how to use it. Add columns for date, title, pillar, status, and notes. Later, if you need more power, you can upgrade to a paid tool. But here’s the catch: a spreadsheet won’t help you discover what to create. That’s where AI comes in. Tools like Velio analyze millions of videos to find viral patterns in titles, thumbnails, and hooks. Combine a spreadsheet for scheduling with an idea tool for inspiration, and you’ve got a killer system. 60%of tools have no explicit pricing listed, leading to budget surprises. When evaluating a tool, ask: Does it integrate with YouTube directly? Can I bulk edit metadata? Does it show me best times to post? Those features save hours every week. Pro Tip: Always test the free trial before committing. Set a reminder to cancel if it’s not right. Most tools make it easy to export your data, so you won’t lose your calendar. Key Takeaway: Pick a tool that matches your current size. A spreadsheet is perfect for beginners; paid tools are for scaling. Bottom line: Choose a calendar tool that fits your budget and workflow, and pair it with an idea-discovery tool like Velio for maximum efficiency. Step 3: Set Up Your Content Calendar Template Once you’ve chosen your tool, it’s time to build the template. This is where most creators mess up. They either overcomplicate it with 20 columns or make it too simple to be useful. A good template has just enough to keep you on track without giving you a headache. Here are the essential columns you need: Date, The publish date. Use a consistent format like YYYY-MM-DD. Video Title, A working title. You can change it later. Content Pillar, Which of your pillars does this belong to? Status, Idea, Scripting, Filming, Editing, Scheduled, Published. Notes, Keywords, hooks, thumbnail ideas, or links to assets. You can add more columns later, but start with these five. Watch this quick walkthrough to see how to set it up in Google Sheets: Notice how simple it is? That’s the point. Your YouTube content calendar planning tool should make your life easier, not harder. A clean template lets you see your whole month at a glance. That vision alone reduces stress. Now, duplicate this template for